



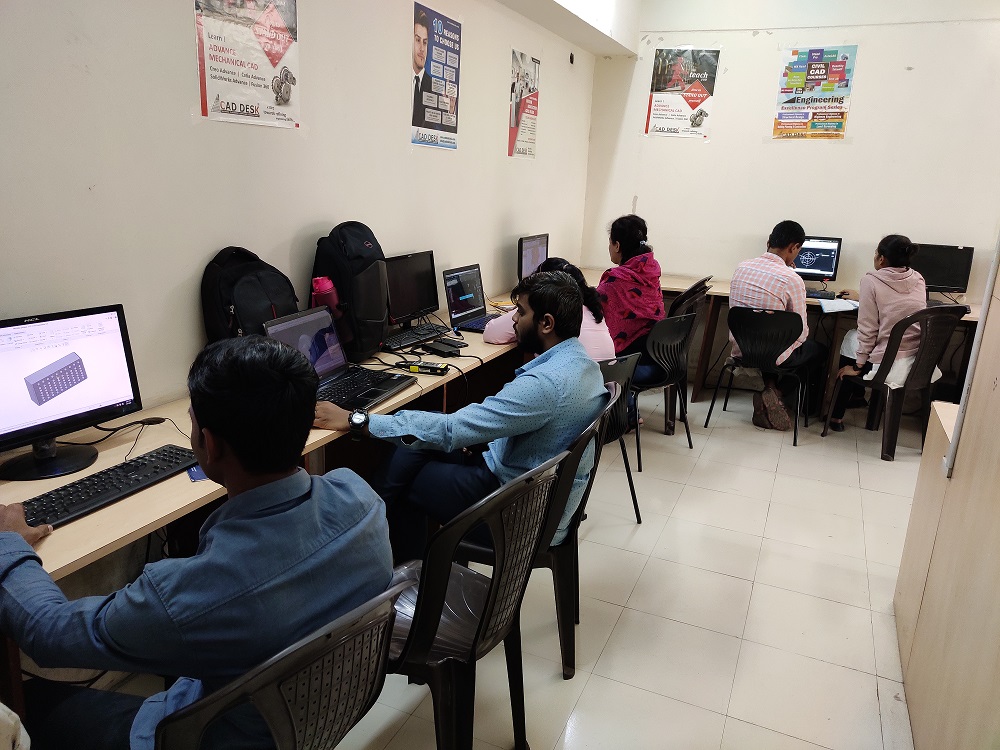
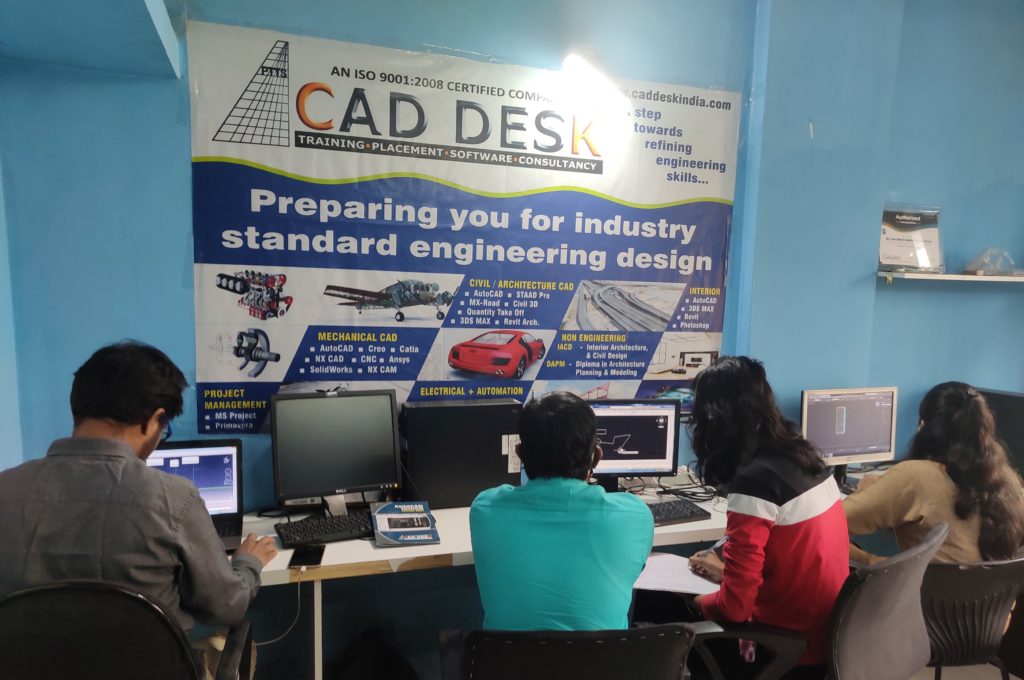
Great TEAM !!! Experienced Trainers ..Serving since 10+ Yrs @ Pune




Rohit Ranjan Being Technical Graduate in Engineering & MBA in Marketing with more than 10+ yrs of cumulative experience,
Great Experience in to Live Training,Corporate Training Consultants for Various Engineering Design Interior Architectural Companies
He has worked as Mentor in shaping students to achieve Right Career Goal & Achieving Digital Success
CADDESK Pune Hadapsar & CAD DESK Swargate is under the Franchise of Umbrella Company Of Coresoftech Solutions Promising to Delver Quality Training
CAD DESK Pune – to deliver the best through our team of permanent and qualified guest & Industrial faculties.
IT will be our endeavor to ensure we owe up to your expectation.

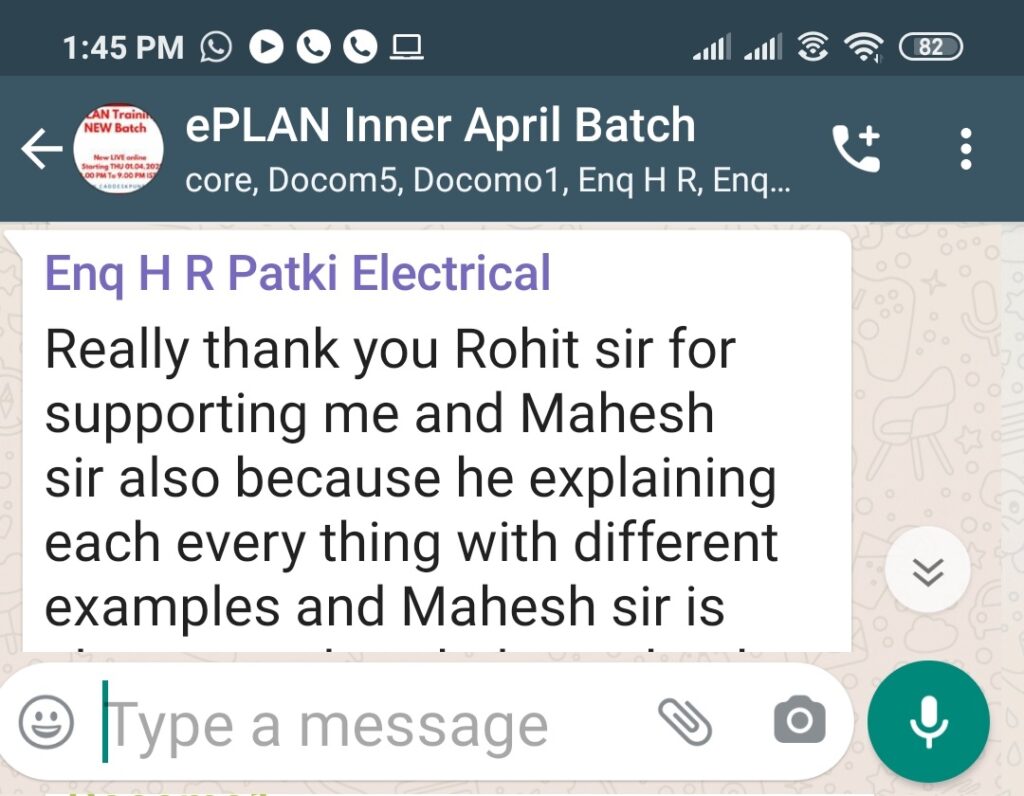
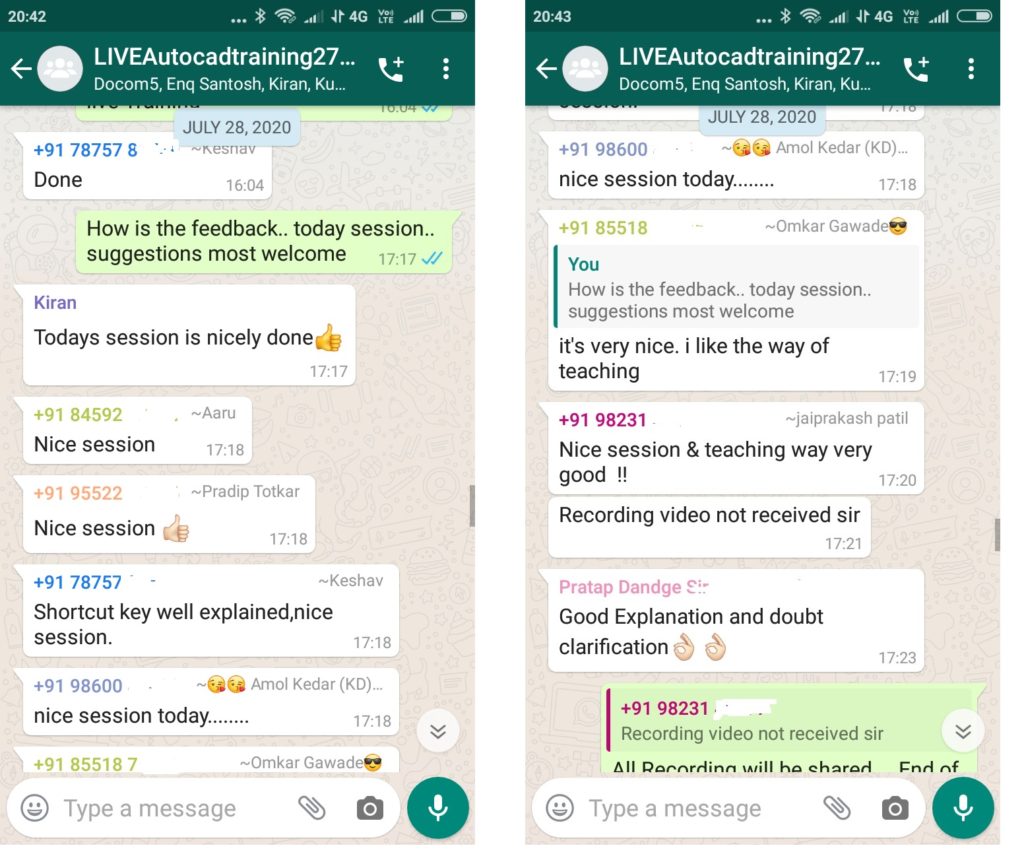








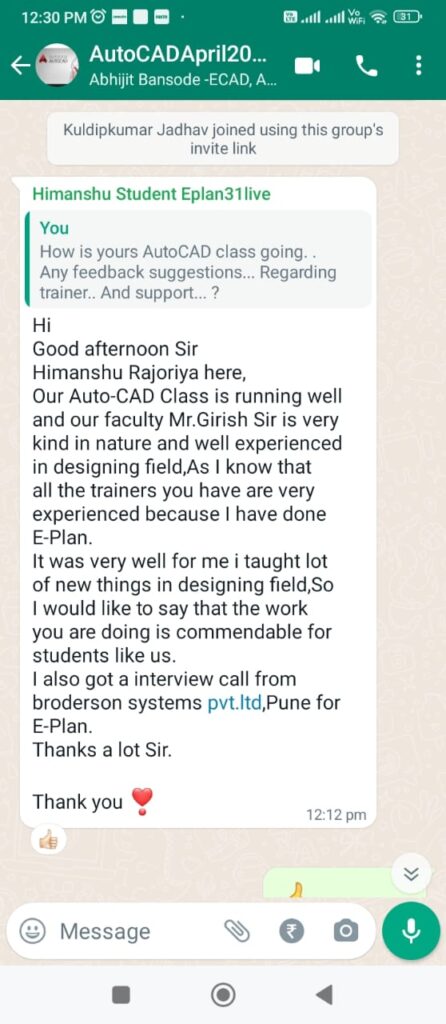
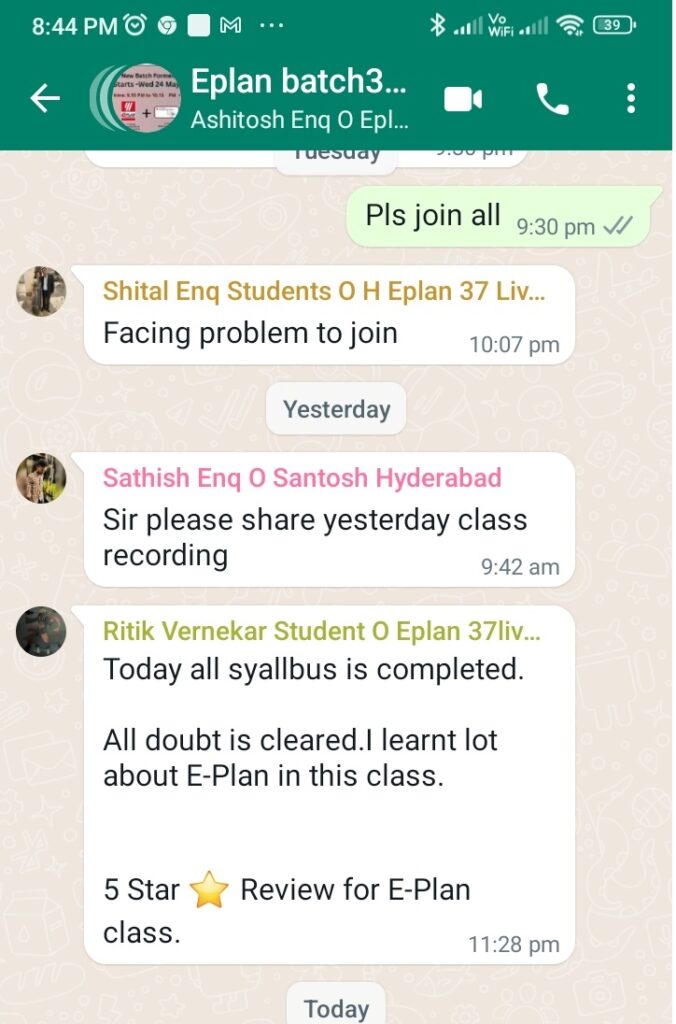


We Understand CAD Better !!!!!
Yes Complete Total Software Live Training !!!( Its Not Crash Course) + FREE RECORDING ACCESS
SYLLABUS
| EPLAN SYLLABUS (Electric P8) |
| www.caddeskpune.com |
| Corporate Online Live Training +91-8237750007 www.coresoftech.com |
| No. Of hours -45 hours + Minimum 20 hours Projects -(4 -5 Weeks Training ) |
| Duration 30 days |
| EPLAN Electric P8 Basics |
| This course is designed to provide designers information, knowledge, and skills required |
| to use EPLAN Electric P8 in the design process. Participants receive an overall |
| understanding of EPLAN Electric P8 concepts and functions and learn how to use the |
| software’s features to build and edit comprehensive, intelligent wiring diagrams from |
| start to finish. The course also teaches how to generate automatic forms (i.e., BOM, |
| wire list, terminal diagram, cable termination sheets, etc.) to shorten the overall |
| manufacturing process while improving its quality. The modules covered include create |
| an EPLAN Electric P8 project, populate an EPLAN Electric P8 project, work with ECs in |
| EPLAN Electric P8 , work with WDs in EPLAN Electric P8, and finalize an EPLAN |
| Electric P8 project. Hands-on exercises are incorporated into all of the modules. |
| Module Content Delivery |
| Method |
| Time |
| 1 – Create an EPLAN Electric P8 project. |
| Describe the differences between CAD and EPLAN Electric P8. |
| Start EPLAN Electric P8 software. |
| Work with pages in a project. |
| Backup and restore projects. |
| Navigate in the EPLAN Electric P8 environment. |
| 2 – Populate an EPLAN Electric P8 project. |
| Work with the graphical editor. |
| Work with devices. |
| Work with components. |
| Work with symbols. |
| Modify device/components/symbol properties. |
| Renumber devices. |
| Work with T-nodes. |
| Work with wire properties and potentials. |
| Work with interruption points. |
| Work with black boxes. |
| Work with macros. |
| 3 – Modify Wiring Diagrams in EPLAN. |
| Work with cables. |
| Insert a node allocation table. |
| Insert an air prep diagram. |
| Work with cylinders, switches, and piping diagrams. |
| Work with revision notes. |
| Generate a BOM. |
| Export a BOM to Excel. |
| 4 – Modify Electrical Control Diagrams in EPLAN. |
| Work with Terminal Strip. |
| Work with Relay Contact Contactor . |
| Work with PLC Components |
| Generate a Device List |
| Generate a Wire List |
| 5 –Finalizing of Project |
| Create User Parts |
| Utilize find feature |
| Compress a project |
| Export a Project |
| Print a Project |
| Customize setting in EPLAN Electric P8 |
| Customize the workspace |
| Projects Industrial |
| Projects Industrial |
| COMMAND WISE ( We will Cover All Topics as Below ) |
| Unit 01 Customizable front-end user interface and toolbars |
| Unit 02 Structure of the user interface |
| Unit 03 Creating a new project |
| Unit 04 Pages |
| Unit 05 Preparing master data |
| Unit 06 Interruption points |
| Unit 07 Schematic generation |
| Unit 08 Properties (components) |
| Unit 09 Path and function texts |
| Unit 10 Page macro technology |
| Unit 11 Connectors |
| Unit 12 Device navigator |
| Unit 13 Schematic generation through copying technique |
| Unit 14 Placing functions |
| Unit 15 Repetition |
| Unit 16 Editing and managing projects IEC 81346 |
| Unit 17 Creating new projects |
| Unit 18 Device selection |
| Unit 19 Part selection |
| Unit 20 Structure and black box concept |
| Unit 21 Schematic generation with devices |
| Unit 22 Connections |
| Unit 23 Finding and replacing |
| Unit 24 Repetition |
| Unit 25 Graphical elements true to scale / dimensioning information |
| Unit 26 Terminals |
| Unit 27 Connections / cables |
| Unit 28 Completing a project using the copying function |
| Unit 29 User-defined property arrangement |
| Unit 30 Plugs |
| Unit 31 Terminals with saddle jumpers |
| Unit 32 Data Portal |
| Unit 33 Repetition |
| Unit 34 Check runs |
| Unit 35 Reports |
| Unit 36 Labeling |
| Unit 37 Exporting images, graphics files and PDF |
| Unit 38 Data backup |
| Unit 39 Form and plot frame editor |
| Unit 40 Parts management |
| Lesson 41 Concluding exercise . |
| Unit 42 Design exercise |
| Lesson 43 Macro technology |
| Unit 44 PLC cards |
| Unit 45 Cross-references and representation types |
| Unit 46 Connection point logic |
| Unit 47 PLC addressing |
| Unit 48 Exporting PLC assignment lists |
| Unit 49 Importing PLC assignment lists |
| Unit 50 Free exercise |
| Unit 51 Device numbering |
| Unit 52 PLC Channel-oriented editing |
| Unit 53 Terminals |
| Unit 54 Connections |
| Unit 55 Connection numbering |
| Unit 56 2D panel layout |
| Unit 57 Numbering pages |
| Unit 58 Page filter |
| Unit 59 Free exercise |
| Unit 60 Editing properties externally |
| Unit 61 Translation |
| Unit 62 Automated processing |
| Unit 63 Project management |
| Unit 64 Revision management “Property comparison of projects” |
| Unit 64 Revision control “Change tracking” |
| Unit 65 Consolidation topics. |
| Corporate Online Live Training +91-8237750007 www.coresoftech.com |
| www.caddeskpune.com |
AUTOCAD SYALLBUS
CAD (Auto-CAD)
No. Of hours -20 hours + Minimum 20 hours Projects
- Getting Started with AutoCAD
- Starting AutoCAD
- AutoCAD’s User Interface
- Working with Commands
- AutoCAD’s Cartesian Workspace
- Opening an Existing Drawing File
- Viewing Your Work
- Saving Your Work
- Basic Drawing & Editing Commands
- Drawing Lines
- Erasing Objects
- Drawing Lines with Polar Tracking
- Drawing Rectangles
- Drawing Circles
- Undo and Redo Actions
- Drawing Precision in AutoCAD
- Using Running Object Snaps
- Using Object Snap Overrides
- Polar Tracking at Angles
- Object Snap Tracking
- Making Changes in Your Drawing
- Selecting Objects for Editing
- Moving Objects
- Copying Objects
- Rotating Objects
- Scaling Objects
- Mirroring Objects
- Editing with Grips
- Organizing Your Drawing with Layers
- Creating New Drawings With Templates
- What are Layers?
- Layer States
- Changing an Object’s Layer
- Advanced Object Types
- Drawing Arcs
- Drawing Polylines
- Editing Polylines
- Drawing Polygons
- Drawing Ellipses
- Getting Information from Your Drawing
- Working with Object Properties
- Measuring Objects
- Advanced Editing Commands
- Trimming and Extending Objects
- Stretching Objects
- Creating Fillets and Chamfers
- Offsetting Objects
- Creating Arrays of Objects
- Inserting Blocks
- What are Blocks
- Inserting Blocks
- Working with Dynamic Blocks
- Inserting Blocks with DesignCenter
- Inserting Blocks with Content Explorer
- Setting Up a Layout
- Printing Concepts
- Working in Layouts
- Copying Layouts
- Creating Viewports
- Guidelines for Layouts
- Printing Your Drawing
- Printing Layouts
- Printing from the Model Tab
- Text
- Working with Annotations
- Adding Text in a Drawing
- Modifying Multiline Text
- Formatting Multiline Text
- Adding Notes with Leaders to Your Drawing
- Creating Tables
- Modifying Tables
- Hatching
- Hatching
- Editing Hatches
- Adding Dimensions
- Dimensioning Concepts
- Adding Linear Dimensions
- Adding Radial and Angular Dimensions
- Editing Dimensions
- Working Effectively with AutoCAD
- Creating a Custom Workspace
- Using the Keyboard Effectively
- Object Creation, Selection and Visibility
- Working in Multiple Drawings
- Copying and Pasting Between Drawings
- Using Grips Effectively
- Additional Layer Tools
- Accurate Positioning
- Coordinate Entry
- Locating Points with Tracking
- Construction Lines
- Placing Reference Points
- Parametric Drawing
- Working with Constraints
- Geometric Constraints
- Dimensional Constraints
- Working with Blocks
- Creating Blocks
- Editing Blocks
- Removing Unused Elements
- Adding Blocks to Tool Palettes
- Modifying Tool Properties in Tool Palettes
- Creating Templates
- Why Use Templates
- Controlling Units Display
- Creating New Layers
- Adding Standard Layouts to Templates
- Saving Templates
- Annotation Styles
- Creating Text Styles
- Creating Dimension Styles
- Creating Multileader Styles
- Advanced Layouts
- Quick View Layouts
- Creating and Using Named Views
- Advanced Viewport Options
- Layer Overrides in Viewports
- Additional Annotative Scale Features
- External References
- Attaching External References
- Modifying External References
- XRef Specific Information
Projects
- Mechanical CAD – Mechanical & Automotive Projects on AutoCAD
- Civil & Architectural – Civil Plan & Elevation
- Electrical Projects on AutoCAD
PLACEMENTS ASSISTANCE – 100%
| Basic Training For EPLAN Propanel with Process Wiring |
| 1.1 Layout space. |
| 1.2 Enclosure and GA preparation. |
| 1.3 Step file import |
| 1.4 3D enclosure creation |
| 1.5 3D devices creation |
| 1.6 Connection point pattern creation. |
| 1.7 Drilling Pattern creation |
| 1.8 Routing. |
| Eplan 2023 Version |
| Tools |
| Difference 2.9 and 2023 |
| What things are changed |
| Dashboards |
| Ribbion Technnology |
EPLAN SYLLABUS
No. Of hours -45 hours + Minimum 20 hours Projects -(4 Weeks Training
EPLAN Electric P8 Basics
Duration 30 days
EPLAN Electric P8 Basics
This course is designed to provide designers information, knowledge, and skills required
to use EPLAN Electric P8 in the design process. Participants receive an overall
understanding of EPLAN Electric P8 concepts and functions and learn how to use the
software’s features to build and edit comprehensive, intelligent wiring diagrams from
start to finish. The course also teaches how to generate automatic forms (i.e., BOM,
wire list, terminal diagram, cable termination sheets, etc.) to shorten the overall
manufacturing process while improving its quality. The modules covered include create
an EPLAN Electric P8 project, populate an EPLAN Electric P8 project, work with ECs in
EPLAN Electric P8 , work with WDs in EPLAN Electric P8, and finalize an EPLAN
Electric P8 project. Hands-on exercises are incorporated into all of the modules.
Module Content Delivery
Method
Time
1 – Create an EPLAN Electric P8 project.
- Describe the differences between CAD and EPLAN Electric P8.
- Start EPLAN Electric P8 software.
- Work with pages in a project.
- Backup and restore projects.
- Navigate in the EPLAN Electric P8 environment.
2 – Populate an EPLAN Electric P8 project.
- Work with the graphical editor.
- Work with devices.
- Work with components.
- Work with symbols.
- Modify device/components/symbol properties.
- Renumber devices.
- Work with T-nodes.
- Work with wire properties and potentials.
- Work with interruption points.
- Work with black boxes.
- Work with macros.
3 – Modify Wiring Diagrams in EPLAN.
- Work with cables.
- Insert a node allocation table.
- Insert an air prep diagram.
- Work with cylinders, switches, and piping diagrams.
- Work with revision notes.
- Generate a BOM.
- Export a BOM to Excel.
4 – Modify Electrical Control Diagrams in EPLAN.
- Work with Terminal Strip.
- Work with Relay Contact Contactor .
- Work with PLC Components
- Generate a Device List
- Generate a Wire List
5 –Finalizing of Project
- Create User Parts
- Utilize find feature
- Compress a project
- Export a Project
- Print a Project
- Customize setting in EPLAN Electric P8
- Customize the workspace
- Projects Industrial
- Projects Industrial


It’s a LIVE Online ( 2 Way Interaction ) Training batches for ONLINE LIVE
Also FREE recorded access Free given to those Enrolled..so they can Take training as per their convenience.
100% Live Online + Free Recorded ( Live Training Even You Missed Free Recording will be given Free)
There will be LIVE Doubts Clearance Q&A Round & interaction
You can share yours Computer Screen Doubts QA in Zoom/ Google Meet
Since Free Recording Is also given -Even you Missed Few Class because of Time Issues/ Internet you Can access through our Own LMS Learning Management Software Lifetime Access FREE.
EPLAN Training Start s Mon 13 Dec 7.45 PM to 9.15 with QA Doubts Session IST weekdays IST )
New Autocad Batch 21 Days ( 3 weeks Monday to Friday )
Starts Every Month 2nd Week Monday 7.00 PM to 8.00 PM or 8.00 PM to 9.00 PM batch
+ Mechanical Projects
+Civil Project
+Electrical Projects
+Interior /Architecural Projects +Electrical Projetcs
Also Recording Available of Previous Batches which you Can Immediately Access .
So Its upto you You can Start ePLAN or Autocad First ..
Suggested to go 1 by 1 software Training
Total Duration for 1 Software : 1 month each Software +Bonus Days
Yes!! you will get access to all the videos for Lifetime.. ( i.e Recording of Previous LIVE classes or Current Recorded) . You can watch at any time as per your Convenience 24 by
Major Part of our video Live lectures by Default will be English
However all students Comfortable in 50%-50% English Hindi language. can be possible upon request to trainers
Anyone who is a student Diploma BE electrical or Equivalent entrepreneur , business owner , start up founder , marketing executives , Almost anyone and everyone.
Any Stream BA BCom BSC MBA MA MSC Any Stream of Engineering Diploma/ BE/ ME Civil / Architecture/ Mechanical/ Electrical etc
Even you Want to Learn Can also Take This course as your CAREER INTEREST .
This is only for serious action takers.
Yes !!! Refundable only as special case if all candidates are not satisfied with quality of training by the given trainers
Should Claim within 4 Days from the date of Training gets Started.
Total Standard Duration for
Free AUTOCAD Training
14 Days +4 Bonus Days
1 Hours Daily + QA Training & Practice )
EPLAN TRAINING
4 -5 Weeks : 45 Hours Minimum 1 Hours Daily + QA Mon To Friday
+ Ebook Practice
Book Free
This Training is only for people who has interest & can take action .
Eplan Classes Will be 7.45 PM To 9.00 PM Weekday s Batch Monday To Friday STARTS Mon 13 Dec 2021
AUTOCAD Class Starts Every Month Mon at 7.00 PM to 8.00 PM or 8.00 PM to 9.00 PM Weekdays Every Month
Once you Enrolled Software Autocad link or Students version ePLAN to Install will be Given . You can install yourself.
However if you want assistance in installation Online through anydesk will will be provided.
After Completion will getISO 9001:2015 Certification of Training. E-Certificate Will be provided after 1 week of Completion . For Two Software Training Diploma ISO 9001:2015 Certificate Will be Provided .
Write info@caddeskpune.com or Whatsapp/CALL to +91-8793166470 or use whatsapp Chat Box.


Serving Since 10+ Yrs OFFLINE & ONLINE Since Pandemic

